How to Register and Set Up a Profile in Amazon Seller Central
For you to start using the Amazon Seller Central, you are required to use various options for self-service. These are the following:
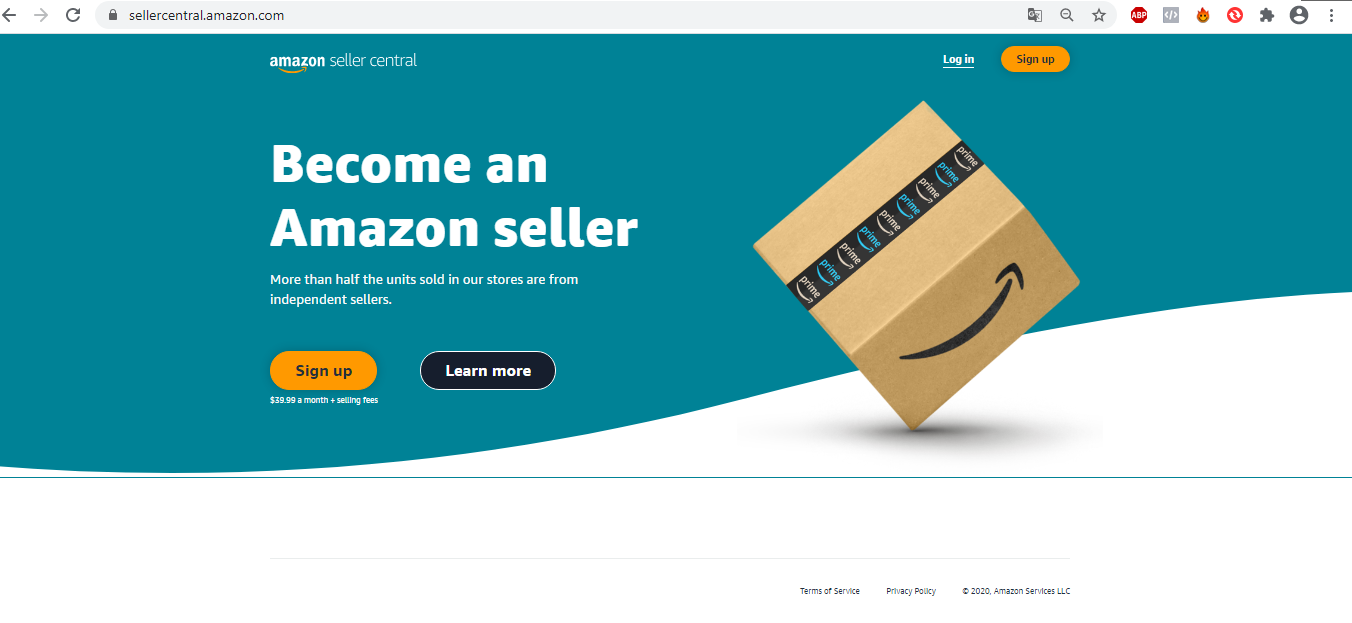
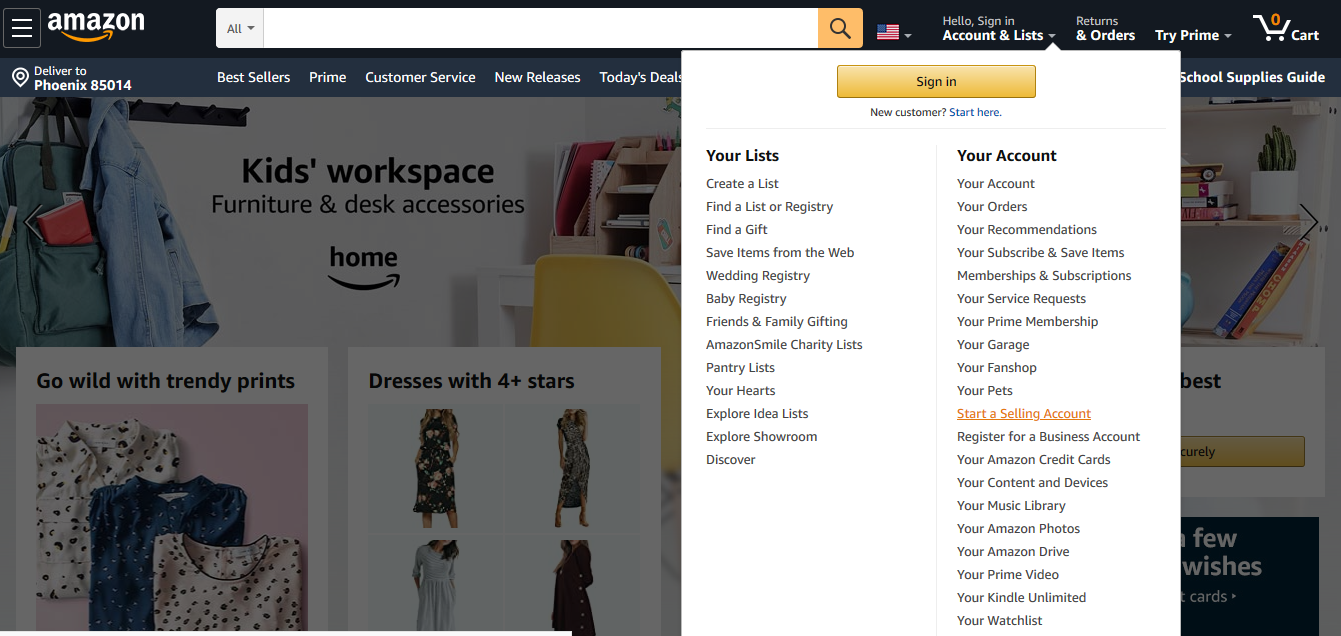
- Go to Amazon and hit the link “Start a Seller Account” in the Account & Lists section.
- You will be redirected to the Seller Account Registration page. Click the “Sign Up” button and go through the registration process, filling in all fields.
Take note that it does not matter which type of self-service options you prefer to start the process for registration. After all, these will give you similar results when beginning the registration method.
Now let's go through the step-by-step registration so that you don't have any questions about how to register an account on Amazon.
In fact, there are no particular difficulties here. But you must remember: when entering data, be as accurate as possible. Any, even the most insignificant, mistake can cost you account blocking in the future. Provide only correct (corresponding to valid data) information. After all, in the end you will have to go through verification, and it’s important to do everything right for the quick ending of this process.
So, let's go!
- Enter your last name and first name, email address, password (twice, to confirm) and click Next.
.jpg)
2. You might get a captcha verification window to make sure you are human. Just go through the verification and proceed with the registration of an Amazon Account.
.jpg)
3. You need to confirm the email address. To do this, Amazon will send a temporary password to the specified email. Enter it in the window that appears.
.jpg)
4. Verify your mobile number to protect your account.
.jpg)
You must choose the type of business that you will use and represent. Depending on this, the subsequent steps may differ slightly from each other. We’ll show you two options: when you choose the Individual business and Privately-owned business option.
Individual Business
If you choose Individual business, your registration steps will look like this.
- In the first step, you fill out general information like in the example below.
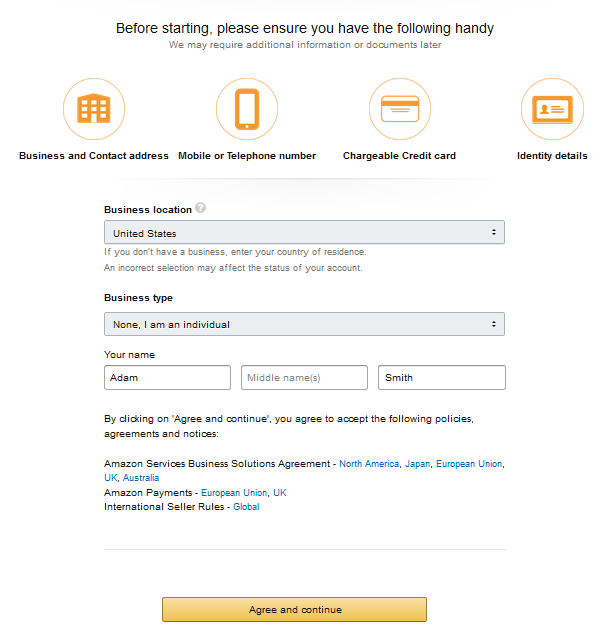
2. In the second step, you need to fill in your personal information, including your business address, date of birth, etc.
.jpg)
When you fill in all the fields, you’ll need to confirm your details and phone number.
.jpg)
3. The next step is Billing information. Include the credit card number, card holder’s name, and any other information that Amazon requires.
.jpg)
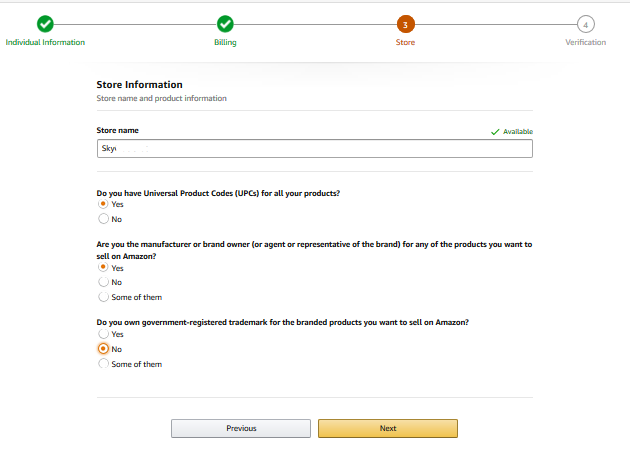
4. Store and product information is the next part of the data that you must provide to Amazon when registering a new account.
5. Finally, the last step is to verify your identity and other data that you provided earlier. To do this, you need to upload high-quality photographs of your identity document, for example, a passport, as well as additional documents, for example, bank account statement. If you did everything correctly, your account will be successfully registered and verified by Amazon support.
.jpg)
Privately-owned Business
If you choose a Privately-owned business, your registration steps will look like this.
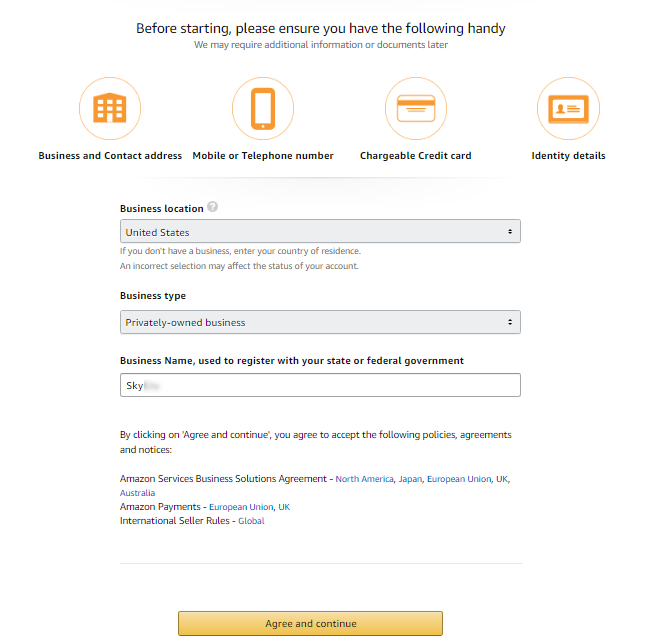
- In the first step, you fill out general information like in the example below.
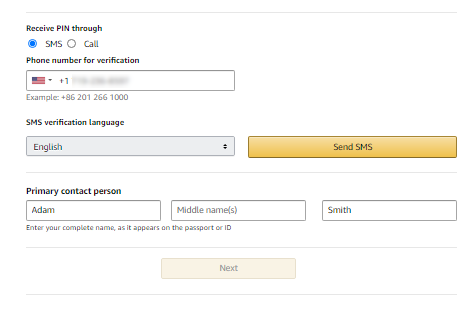
2. In the second step, you need to fill in your business information, including registered business address, company registration number, etc.
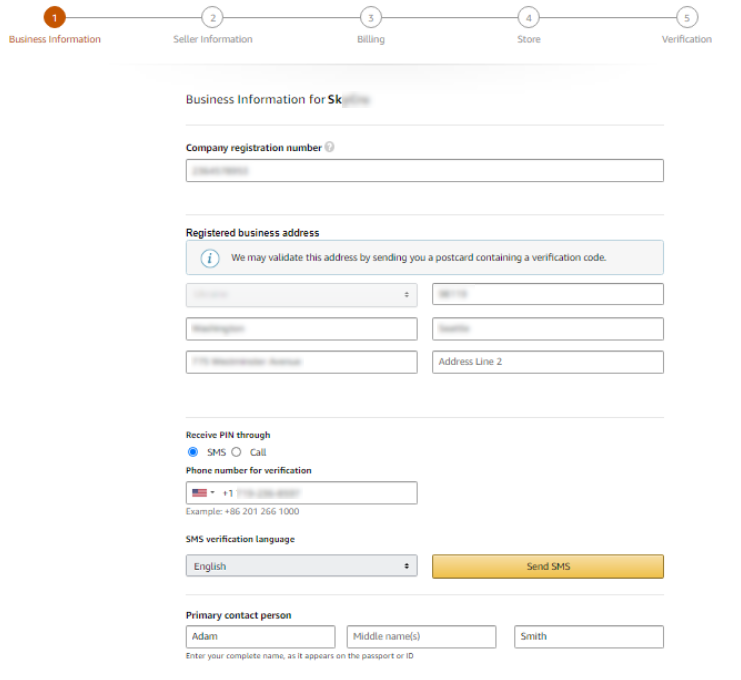
When you fill in all the fields, you’ll need to confirm your details and phone number.
3. Next, you need to fill in Seller information, including passport data, residential address, etc.
.jpg)
4. Add Billing information
.jpg)
5. Store and product information is the next part of the data that you must provide to Amazon when registering a new account.
.jpg)
6. Finally, the last step is to verify your identity and other data that you provided earlier. To do this, you need to upload high-quality photographs of your identity document, for example, a passport, as well as additional documents, for example, bank account statement. If you did everything correctly, your account will be successfully registered and verified by Amazon support.
.jpg)
After registration, each seller receives a unique registration number - Amazon Seller Central merchant ID. It allows the system to recognize each specific seller and is used for various purposes:
- For the correct payment of the proceeds from the sale of goods money.
- For the correct integration and synchronization of actions that the seller performs with lists of goods, orders and other business processes, etc.
After registration, you will have access to your personal account on Amazon Seller Central, where you can create your first listing.
Remember also that Amazon prohibits the registration and use of multiple accounts by one person. You should not neglect this if you don't want to get a block of all the accounts that you will try to use in this way.
We hope that during the registration process you’ll not have any difficulties, and you’ll start selling your goods on Amazon, because it’s profitable!